![[JHG]](JHGlogo.png "Howard Gibson") Travelling Bookshelf
Travelling Bookshelf
Travelling Bookshelf
Travelling Bookshelf
I need one.
I am six foot three and two hundred and ten pounds, and I drive a Honda Fit. The size of you and your car limits the size and weight of your bookshelf. If you are little and you have a big car, you may have to come up with a better lifting strategy than I did. Perhaps you need two bookshelves.
While an individual book does not weigh all that much, a collection of books pack very well. Boxes and other containers full of books are very heavy.
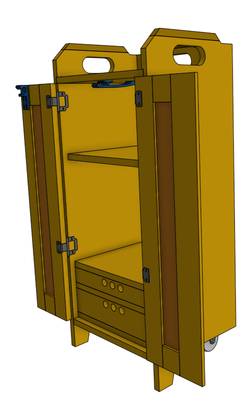
3D CAD View
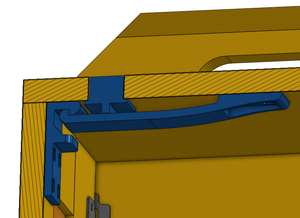
Latch Mechanism
I originally designed this thing in two dimensions, using LibreCAD. This is a Free 2D CAD program. It is not as capable as AutoCAD, but it saves its files in the almost universally recognized DXF format, and it is free as it free beer, as well as free speech.
I remodeled everything in PTC's OnShape. PTC are the publishers of ProE and CREO design software. OnShape can be run free of charge. You pay if you want your files to be confidential. OnShape runs in your browser on the cloud. This is very good in that you don't need to install software on your local computer. It is very bad in that our files are up on the cloud, on servers you are not in control of. If PTC goes out of business, or they change their business model, your data is gone. I really need to learn FreeCAD.
I did most of the fabrication from the 2D drawings, shown to the left. I used the 3D model to 3D print the latch.
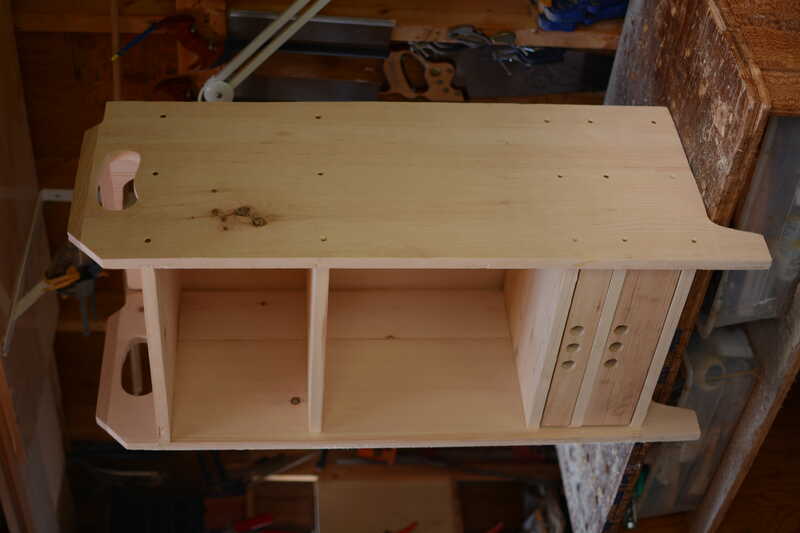
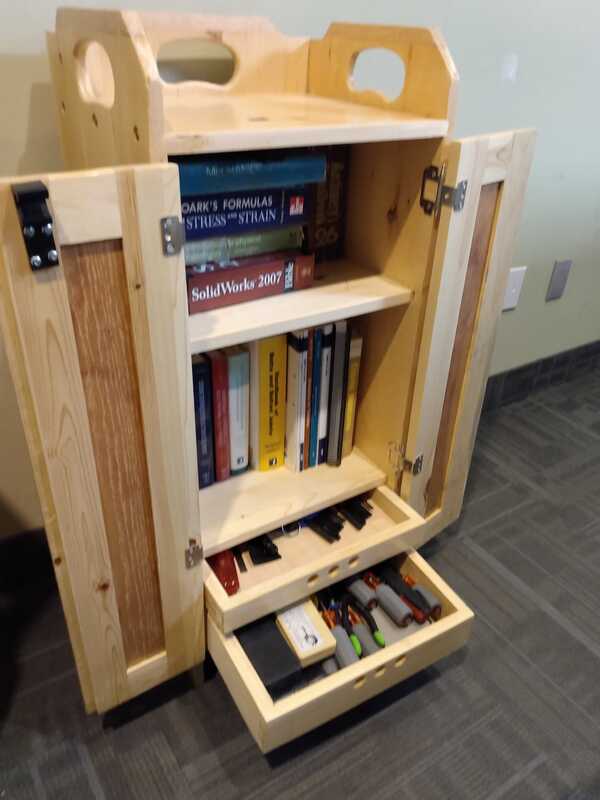
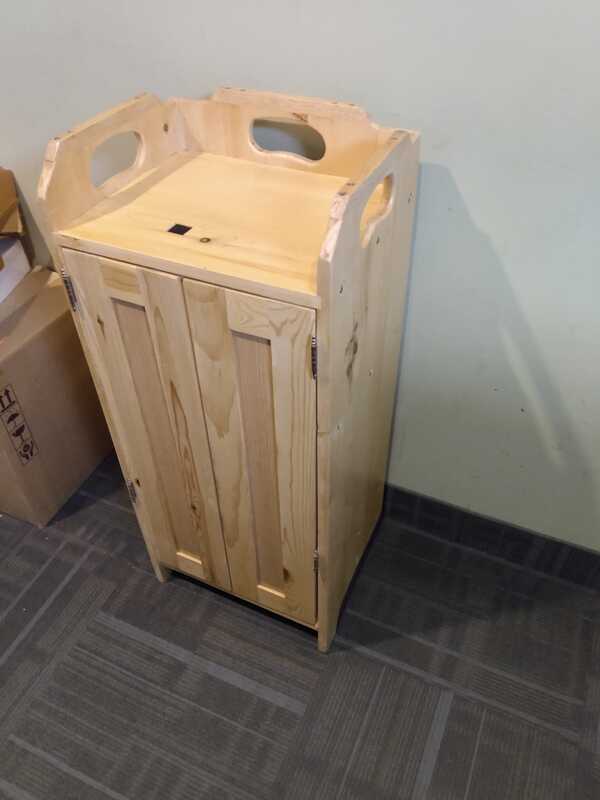
An important design requirement was that things could not stick outside the bookshelf. This makes latches and handles tricky, both outside and inside the bookshelf. The latch is a pushbutton that sits flush to the top shelf, SHELF E. The mechanism is an action that pushes DOOR LEFT out from the bookshelf. The DOOR LEFT clamps the DOOR RIGHT in place. The two drawers each have three holes drilled because there is no room for a handle between drawer fronts and the doors. This is a common trick for drawers made by people too lazy to add handles.
The cut-outs at the top are handles. Given the configuration, there is no way to orient the side or rear panels that keep you from overloading the wood grain. The HANDLE REAR and HANDLE SIDEs are glued and screwed to the top. I made them from oak. If you look at the drawing section views, you will see a piece extending across the bottom. The primary purpose for this is to provide a bottom hand-hold. A guy my size can grab this bottom part with one hand, and the top rear cut-out, and pick the thing up.
The as built bookshelf mostly works. The latch works. The bookshelves work. The drawers work. The casters are too far forward. When you pull the bookshelf around, you have to support most of the weight. The bookshelf can easily fall over to the rear. I need asymmetric casters, or I need to raise the bottom of the rear panel so that I can move the casters back.
|
|
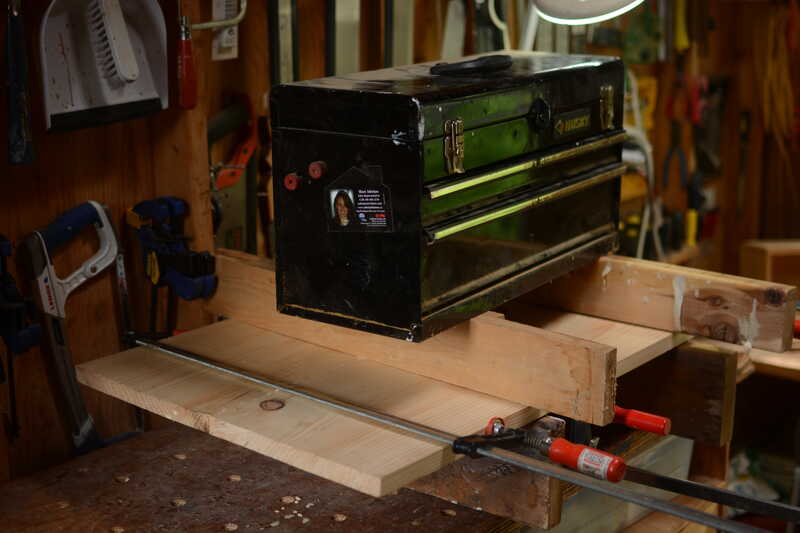
Gluing of rear panel and Partial assmebly
I did not take very many photos of the bookshelf in progress. That black toolbox in left hand photo is extremely heavy. It works very well as part of a clamping fixture for glueing panels. Look carefully to see the 2×6s underneath.
Completed Bookshelf at Work
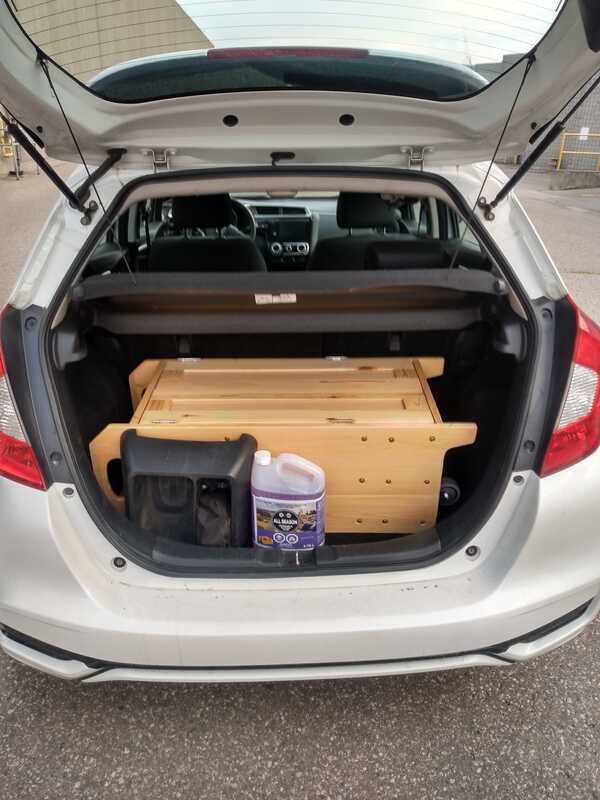
The car is my 2019 Honda Fit. The bookcase fits in my trunk as shown, without folding down the seat. I can also flip up a back seat, and the bookcase fits there too.
 Howard Gibson —
Email
hgibson@eol.ca
—
Last updated:
2026-01-12
Howard Gibson —
Email
hgibson@eol.ca
—
Last updated:
2026-01-12